Introduction :
Using functions of graphics.h library, you can create interactive and visually appealing graphical applications. You can create various applications such as games, animations and other graphical user interfaces in Turbo C++. This library allows programmers to draw various shapes and figures on the graphics screen, such as lines, circles, rectangles and more.
In this article, I shall discuss with you how to use graphics.h in Turbo C++ IDE to create graphics based applications. Here, I show you a step by step guide to help beginners get started with graphics programming using graphics.h library in Turbo C++ IDE.
What is graphics.h :
The graphics.h is a simple and easy to learn header file used in C or C++ programming language to create graphical applications. In graphics.h library, you can see the various functions that allow you to draw lines, circles, rectangles and more shapes. The graphics.h is a specific library for the Turbo C++ compiler. It may not be available in other C or C++ compilers.
The graphics.h library is mainly used in the education sector to teach students the basics of graphics programming. It is also used to create graphical applications for hobby and fun.
Step-by-step guide for use graphics.h in Turbo C++ :
Using the following step by step guide, you can use graphics.h library in Turbo C++ IDE in C programming language.
Step 1 :
To use graphics.h in Turbo C++ IDE, you have to open the Turbo C++ IDE. If you do not install Turbo C++ IDE on your PC, you can install Turbo C++ from here.
Step 2 :
After opening Turbo C++ IDE, create a new file by selecting “File” from the menu bar. Then select “New” to create a new file.

Step 3 :
After that, select “Save as” for save the new file with a name like “graphicpac.c”.

Step 4 :
To use graphics.h, you have to include its header file at the beginning of your source code. To do this, select “Options” and then select “Linker” in the menu bar. In the “Linker” window, select “Libraries”.

Step 5 :
Then check “Graphics” in the list of libraries and click “OK” to close the “Linker” window.

Step 6 :
Now, you can use the graphics.h header file in your program by including it at the beginning of your source code. After that, type the following line of code in the beginning of your code.
#include <graphics.h>Step 7 :
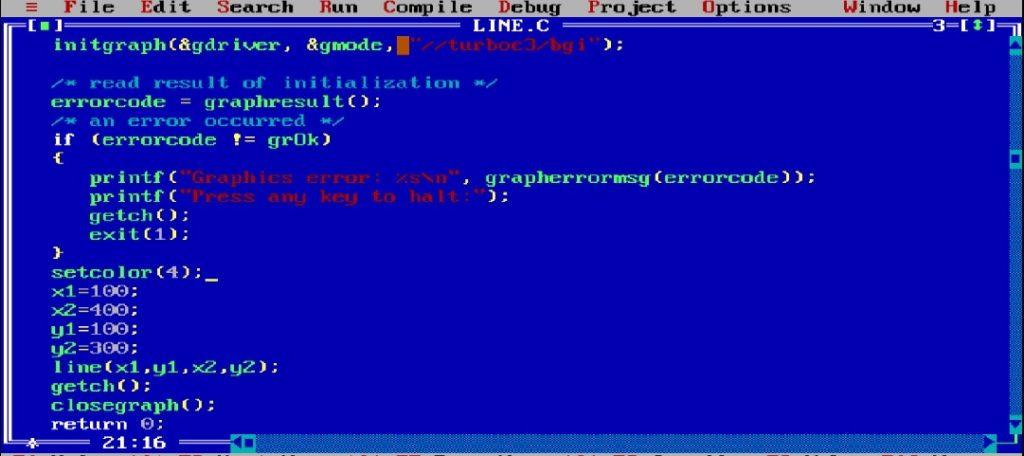
Then, you have to initialize graphics mode to draw any graphics on the screen. For this, you can call the initgraph() function. The initgraph() function is used to initialize graphics and set up the graphics window. The initgraph() function takes three arguments or parameters such as graphics driver, graphics mode and path to the BGI file on your PC.
int graphic_driver = DETECT, graphic_mode;
initgraph(&graphic_driver, &graphic_mode, "//turboc3/bgi");
Here, the DETECT parameter automatically detects the graphics driver (graphic_driver), graphic_mode sets the graphics mode to default. The last parameter is the path to the BGI file of your PC. It tells the compiler where the BGI file on your PC is located. You have to set the BGI path of initgraph() function. To set the BGI path of initgraph() function, you need to provide the path to the BGI driver file on your PC.
In the above code, the path to the BGI driver file is “//turboc3/bgi”. You need to replace this with the path where the BGI driver file is located on your PC. Note that, the backslashes in the path need to be escaped with another backslash, so that Turbo C++ can correctly interpret the path.

Step 8 :
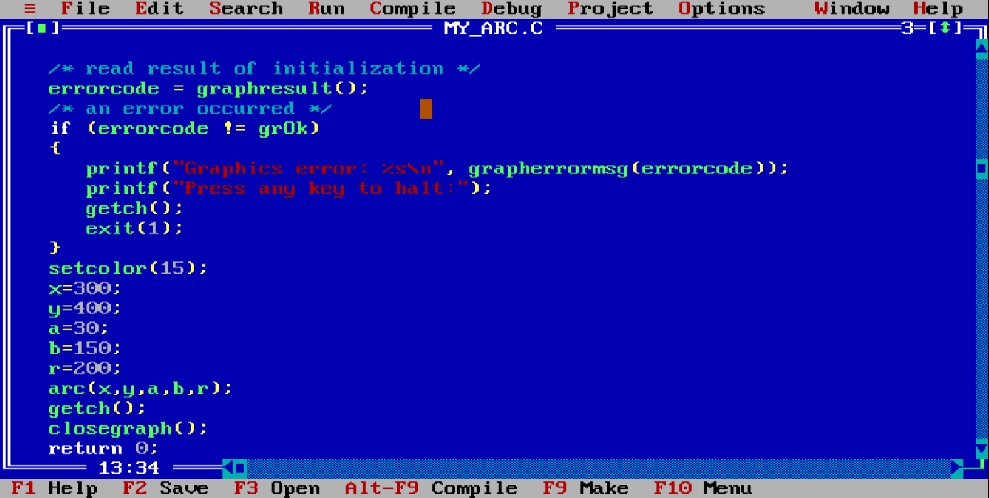
After initializing graphics mode, you can use functions such as line(), circle(), rectangle() etc. Using these functions, you can draw various shapes and figures on the graphics screen. You can use setbkcolor() and setcolor() functions to set the background and drawing color respectively.
After you have finished drawing graphics by different functions of graphics.h library, you need to close graphics by calling the closegraph() function. Here, I use getch() function to take a character before close the graphics program.
You can copy the below code and paste it in your file of Turbo C++ to see the output.
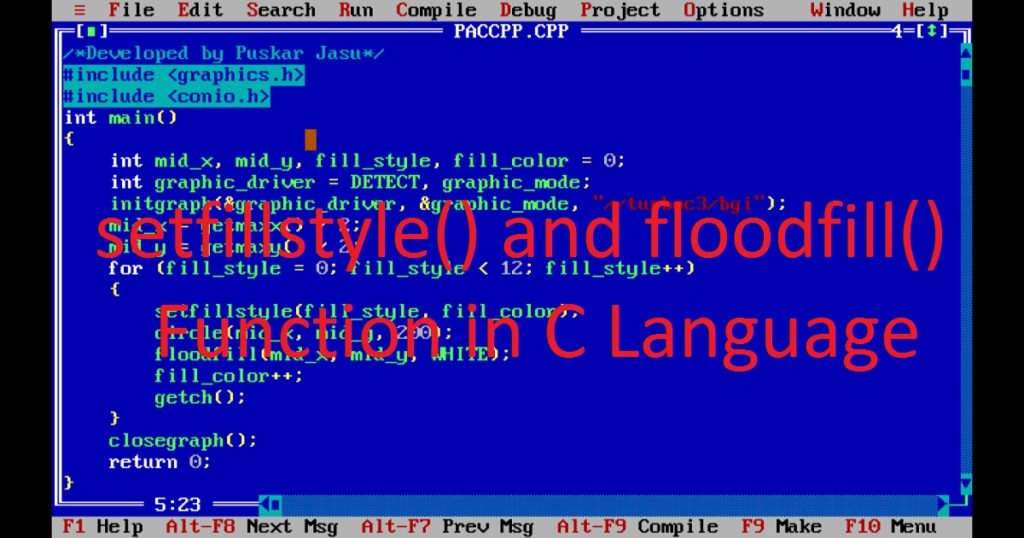
/*Develop by Puskar Jasu*/
#include <graphics.h>
#include <conio.h>
int main(void)
{
    int graphic_driver = DETECT, graphic_mode;
    initgraph(&graphic_driver, &graphic_mode, "//turboc3/bgi");
    setbkcolor(15);
    setcolor(4);
    line(50, 200, 180, 200);
    circle(300, 200, 100);
    rectangle(450, 100, 550, 300);
    getch();
    closegraph();
    return 0;
}
Step 9 :
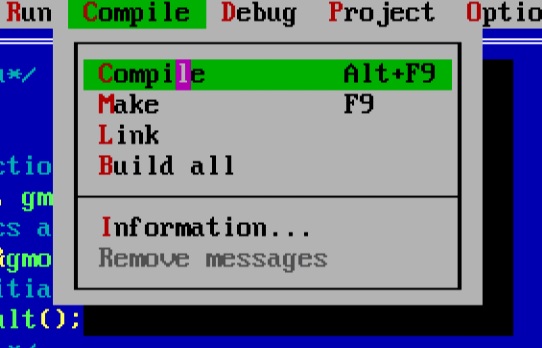
Once you have finished your code, you can compile and run it to see the output. To compile your program, first select “Compile” from the menu bar and also select “Compile”.
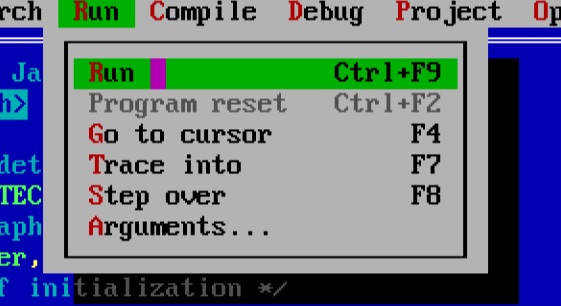
Step 10 :
If you do not get any error after compile, then you can run the program. Now to run your program, select “Run” from the menu bar and then select “Run”.
Output of the program :
You can see the below image as output of the above program.

Conclusion :
In this article, I have discussed with you how to use graphics.h in Turbo C++ to create graphics based applications. By following the step by step guide, you have a basic understanding of graphics programming. Now, you can easily draw lines, circles, rectangles and other shapes on the graphics screen.
With some practice, you can create more complex graphical applications using graphics.h in Turbo C++. Thank you for visiting my site.