Introduction :
Visual Studio Code (VS Code) is a popular code editor that supports a wide range of programming languages, including C and C++ language. It is a good choice for C and C++ developers. The configuration settings of VS Code for C and C++ programming language is very easy.
In this article, I shall show you the step by step process of setting up VS Code for C and C++ programming language. After configuring Visual Studio Code, you can run C and C++ program easily.
Step by step guide for Setting up Visual Studio Code :
You have to follow the below steps to setup VS Code for C and C++ programming language on your PC (Windows).
Step 1 :
At first, open Visual Studio Code (VS Code) on your PC. If you do not install VS Code on your PC, you have to install it. After open VS Code, click on the square icon on the sidebar (or Ctrl+Shift+X). Now, you can see the Extensions view. Here, you have to type “C/C++” in the search bar. Then, find the “C/C++” extension which developed by Microsoft and install it.
Using this extension, you can run C and C++ programs. It also includes editing (IntelliSense) and debugging features for C and C++ language.

Step 2 :
After install “C/C++” extension, you have to install “Code Runner” extension. Using “Code Runner” extension, you can run your C or C++ program easily. Now, you can search “code runner” in the search bar of the Extensions view and install the “Code Runner” extension developed by Jun Han.

Step 3 :
After install extensions, you will need a C/C++ compiler to compile and run the C or C++ code. For that, you have to download the MinGW installer on your PC (Windows operating system).

Step 4 :
After download the mingw installer file, run it. You can see the Mingw Installation Manager like below image on your PC. Now, click on the “Install” button to begin the setup process.

Step 5 :
Here, you have to choose the default location. Now click on the “Continue” button to start the installation.

Step 6 :
After that, right click on every checkbox and choose mark for installation on the Mingw Installation Manager. Then, click installation on the top left corner and choose to apply. When installation complete, you see the following image on the screen. Now, close the installer setup.

Step 7 :
After installing mingw on your PC, you have to add the mingw bin directory (folder) to your system’s PATH environment variable. Now, open “This PC” of your PC and open “C” drive. Then, go to Program Files (x86) folder. Here, you can see mingw-w64 folder. You have to find the bin folder in it. Now, copy the full path of bin folder.

Step 8 :
After that, open “Control Panel” from your start menu and click on “System and Security”. Then, click on “System”. Then, click on “Advanced system settings” on the left sidebar. In the System Properties window, click on the “Environment Variables” button. Then, select the “path” variable of “System variables” and click on “Edit” button.
Now, paste the path to the mingw bin directory which you have copied in step 5. After that, click on the “ok” to save the changes and close all message boxes (windows) one by one by clicking “ok”.

Step 9 :
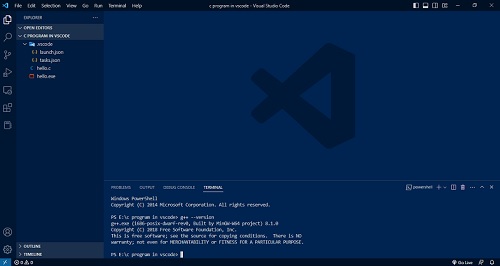
After adding the PATH environment variable, you have to check if mingw has been successfully installed or not. Now, open VS Code on your PC. Then, open a new terminal in it. After that, paste “gcc –version” or “g++ –version” on it and press “Enter” to check if the compiler is successfully installed or not.
Step 10 :
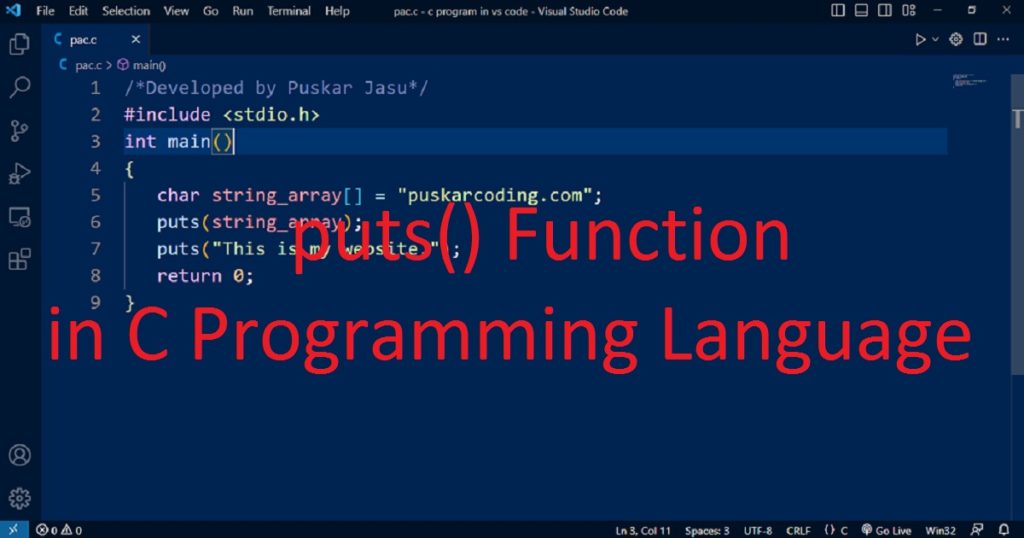
Now, open VS Code and create a new folder for your C or C++ project. Then, create a new file with .c or .cpp extension (“pac.c” or “pac.cpp”) inside this project folder. After that, paste the following code in it. After save the file, run the program to see the output on the console screen. You can run the program by clicking on the “Run” button in the top right corner of the editor.
You can also right-click in the editor and click on the “Run Code” (Ctrl+k) to run the program.
Source code :
Please copy the following code and paste in your C or C++ file of VS Code.
/*Developed by Puskar Jasu*/
#include <stdio.h>
void main()
{
   printf("Welcome to puskarcoding.com \n");
}
Output :
You can see the output of the program like below image.

Conclusion :
After reading this article, you have learned how to successfully set up VS Code for C and C++ development on your PC (Windows system). Now, you can run your C or C++ program on your PC. Thank you for visiting my site.